上一节内容,我们成功的进入了WordPress的引导页面,但是他是http协议的,是不安全的。这一节的内容就是开启https访问。
话不多说,我们继续开搞
- 部署https,你可以在可以免费申请ssl证书的网站上下载证书后再手动配置 ,也可以使用acme.sh 或者宝塔这些来申请。 我这里采用certbot。之前我有介绍过,是一个非常好用的申请ssl程序。
- 具体的安装certbot教程可以参考:https://vwo50.club/archives/1039.html
- 安装完成之后,我们在站点所在的目录执行命令:
sudo certbot --nginx之后我们输入邮箱,然后一路按y,最后选择要申请的域名,它会自动检测。我们输入1选择之后,它就会自动帮我们申请证书且部署证书。同时还修改了配置文件.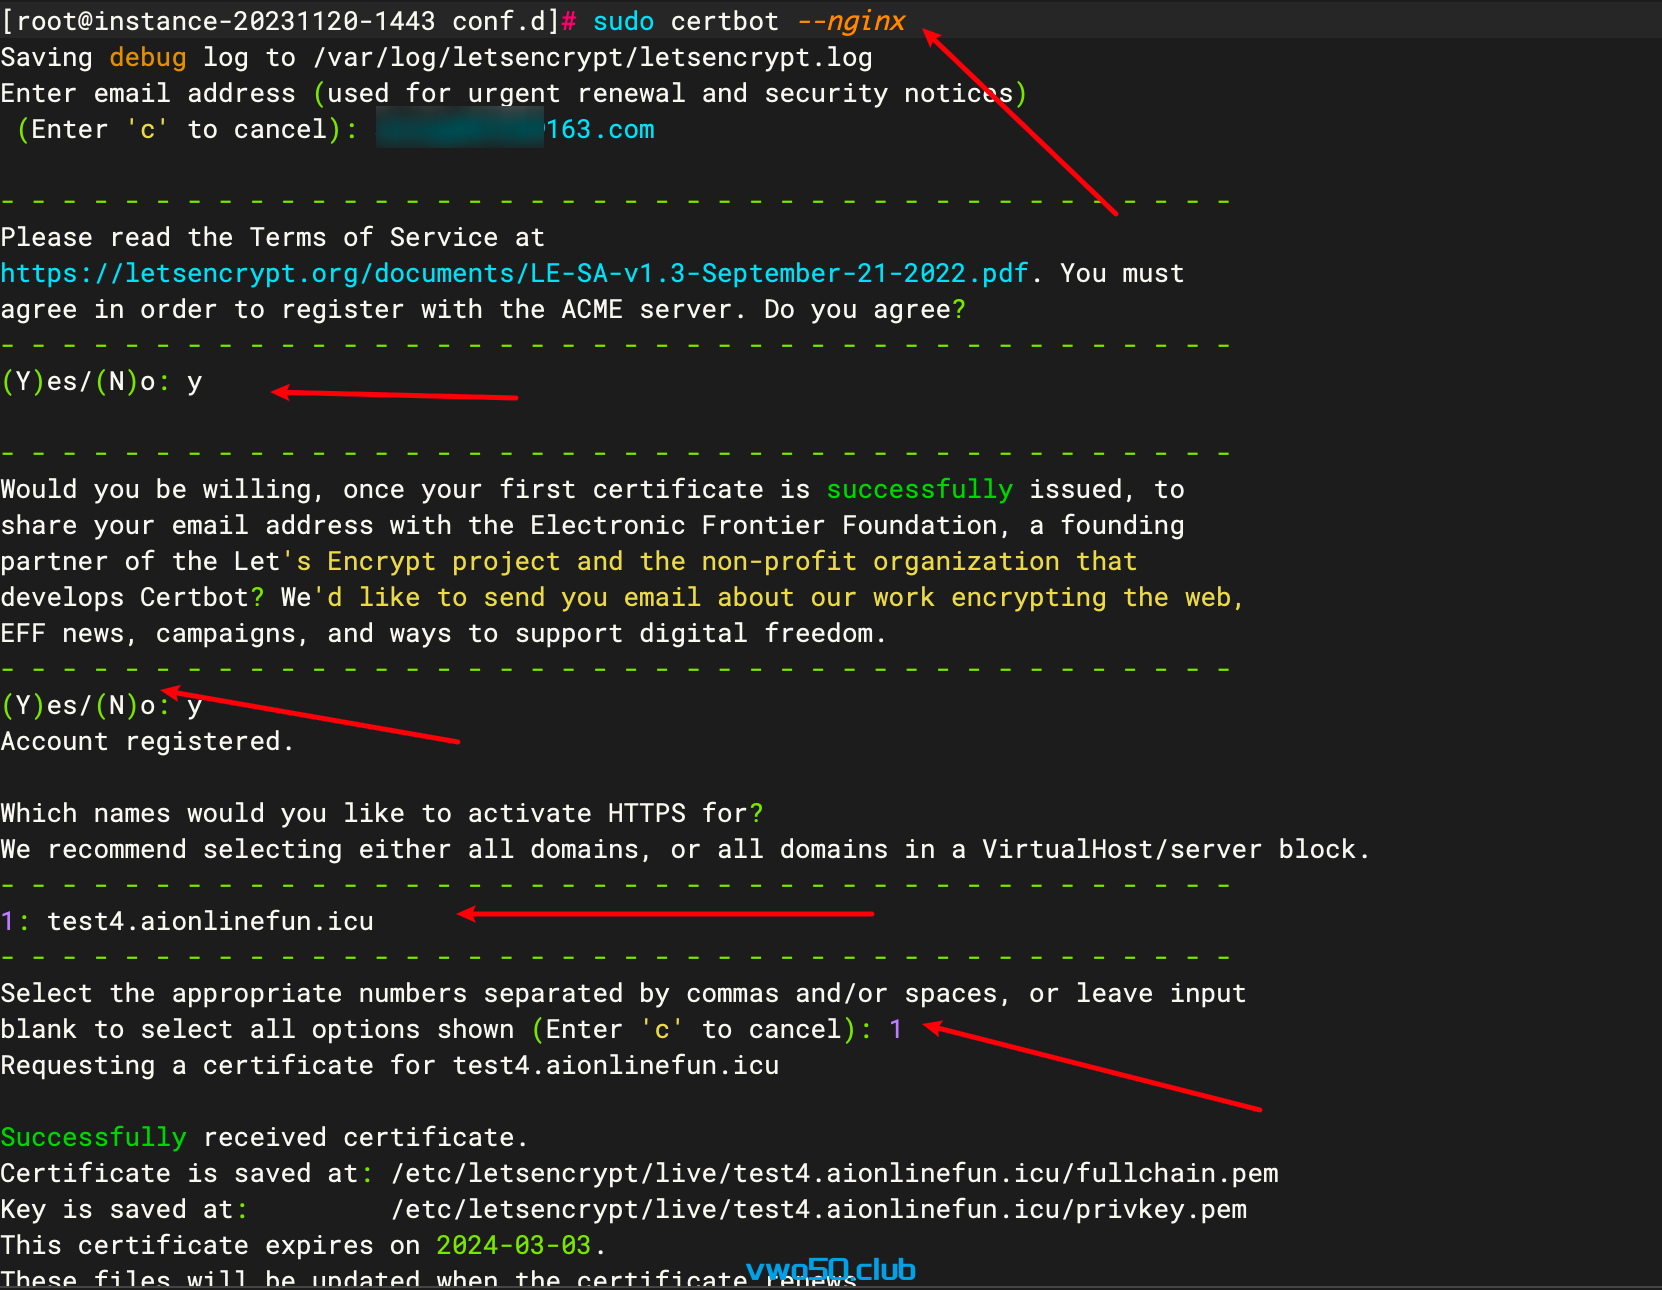

-
然后我们现在来看一下当前站点的配置文件,如下。帮我们自动添加的配置都有注释。
server { server_name test4.aionlinefun.icu; location / { root /www/wwwroot/test4.aionlinefun.icu/wordpress; index index.php index.html index.htm; } location ~ \.php$ { root /www/wwwroot/test4.aionlinefun.icu/wordpress; fastcgi_pass unix:/run/php-fpm/www.sock; fastcgi_index index.php; fastcgi_param SCRIPT_FILENAME $document_root$fastcgi_script_name; include fastcgi_params; } listen 443 ssl; # managed by Certbot ssl_certificate /etc/letsencrypt/live/test4.aionlinefun.icu/fullchain.pem; # managed by Certbot ssl_certificate_key /etc/letsencrypt/live/test4.aionlinefun.icu/privkey.pem; # managed by Certbot include /etc/letsencrypt/options-ssl-nginx.conf; # managed by Certbot ssl_dhparam /etc/letsencrypt/ssl-dhparams.pem; # managed by Certbot } server { if ($host = test4.aionlinefun.icu) { return 301 https://$host$request_uri; #设置301跳转,当我们通过http访问时候会自动跳转到https。 } # managed by Certbot listen 80; server_name test4.aionlinefun.icu; return 404; # managed by Certbot } - 其实本质上就是新增了一个server。里面监听了443端口。域名还是之前的域名,设置好证书所在的路径。
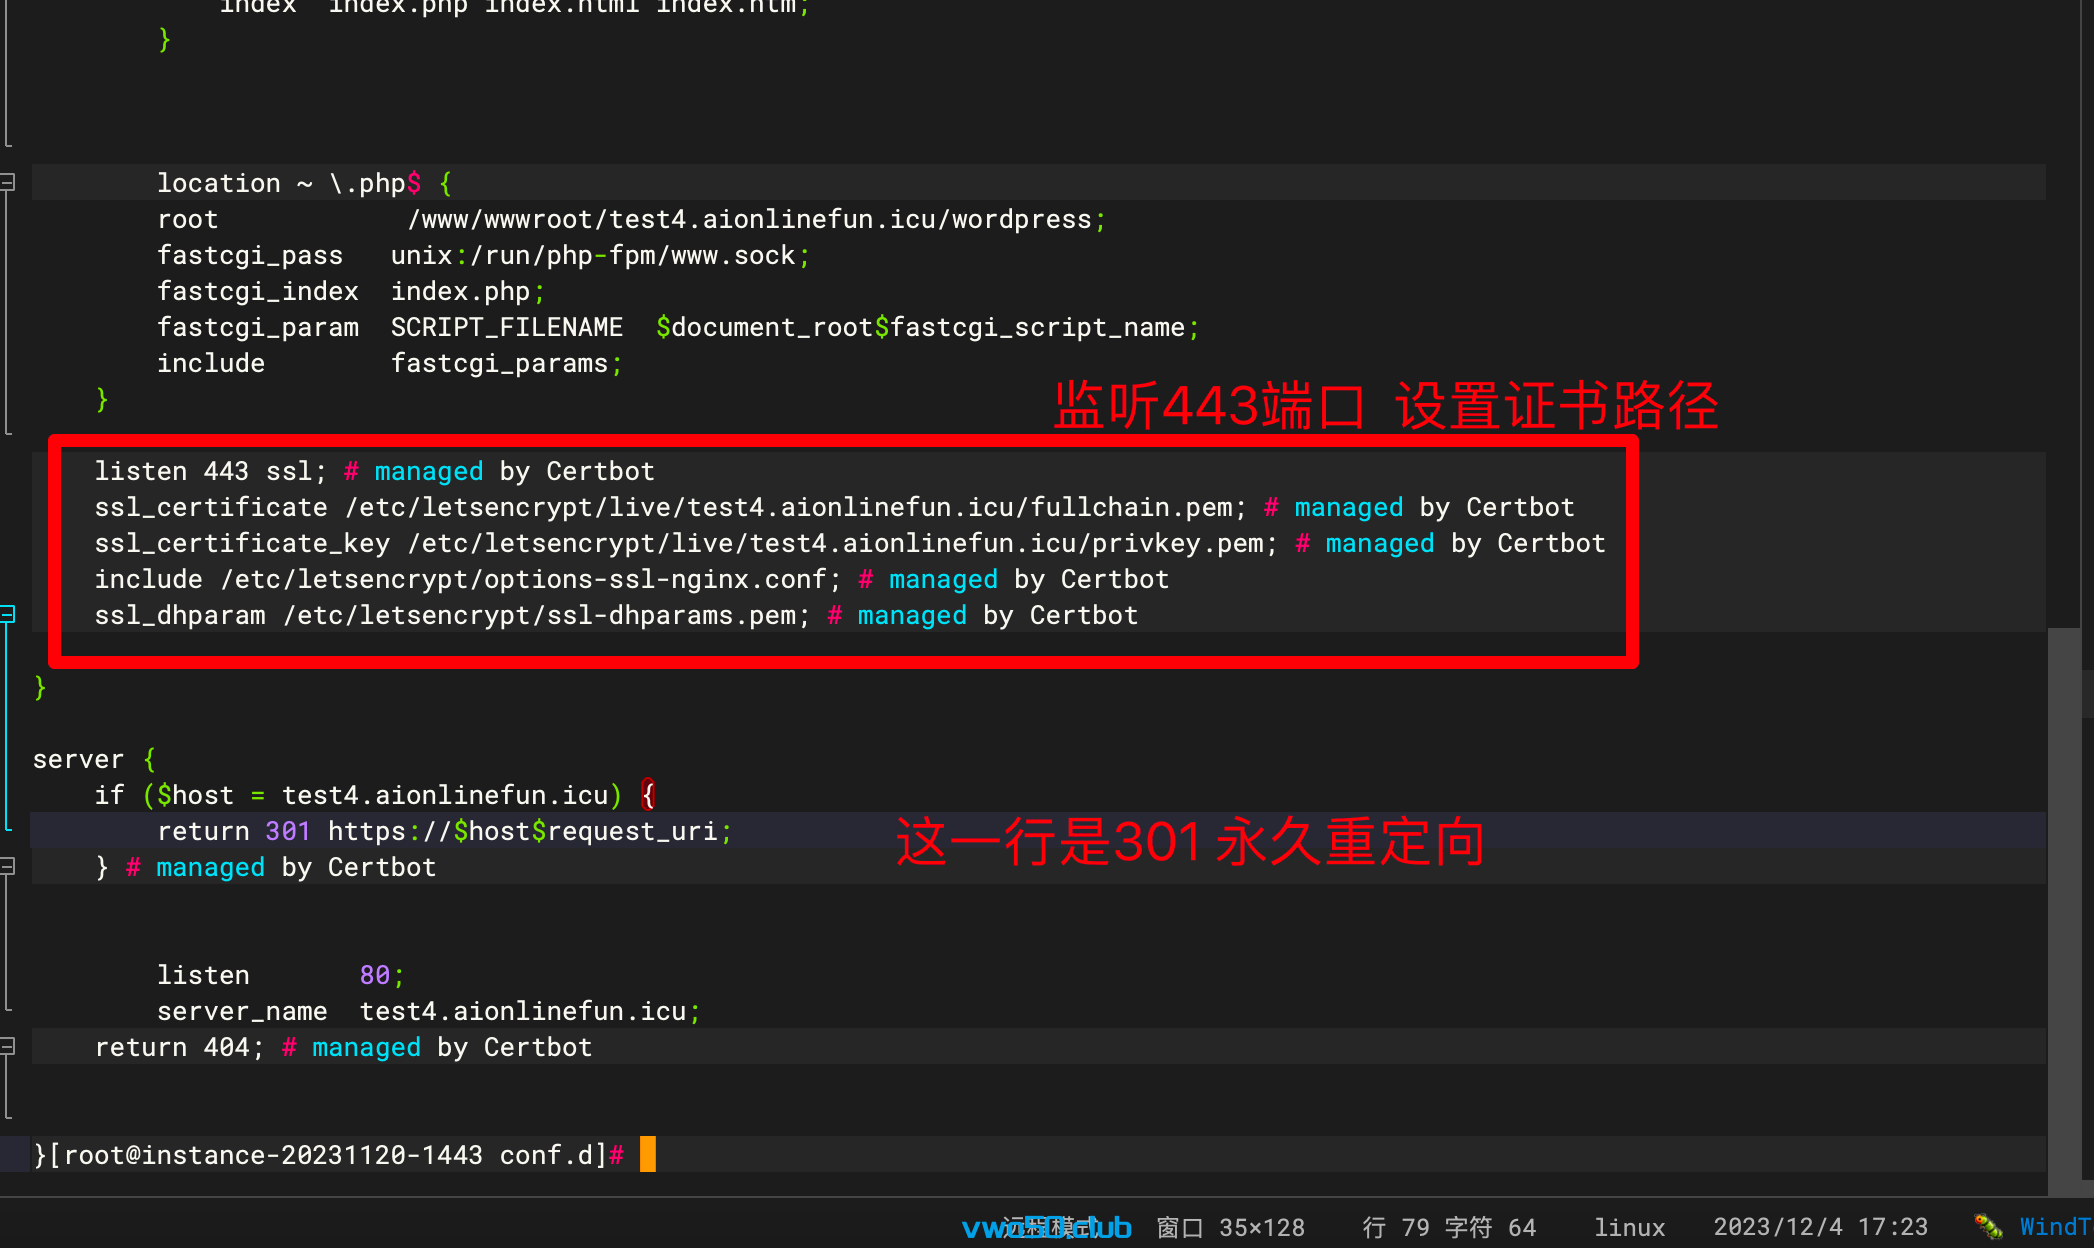 当我们要实现访问http自动跳转https那么就可以在对应的server块里填写
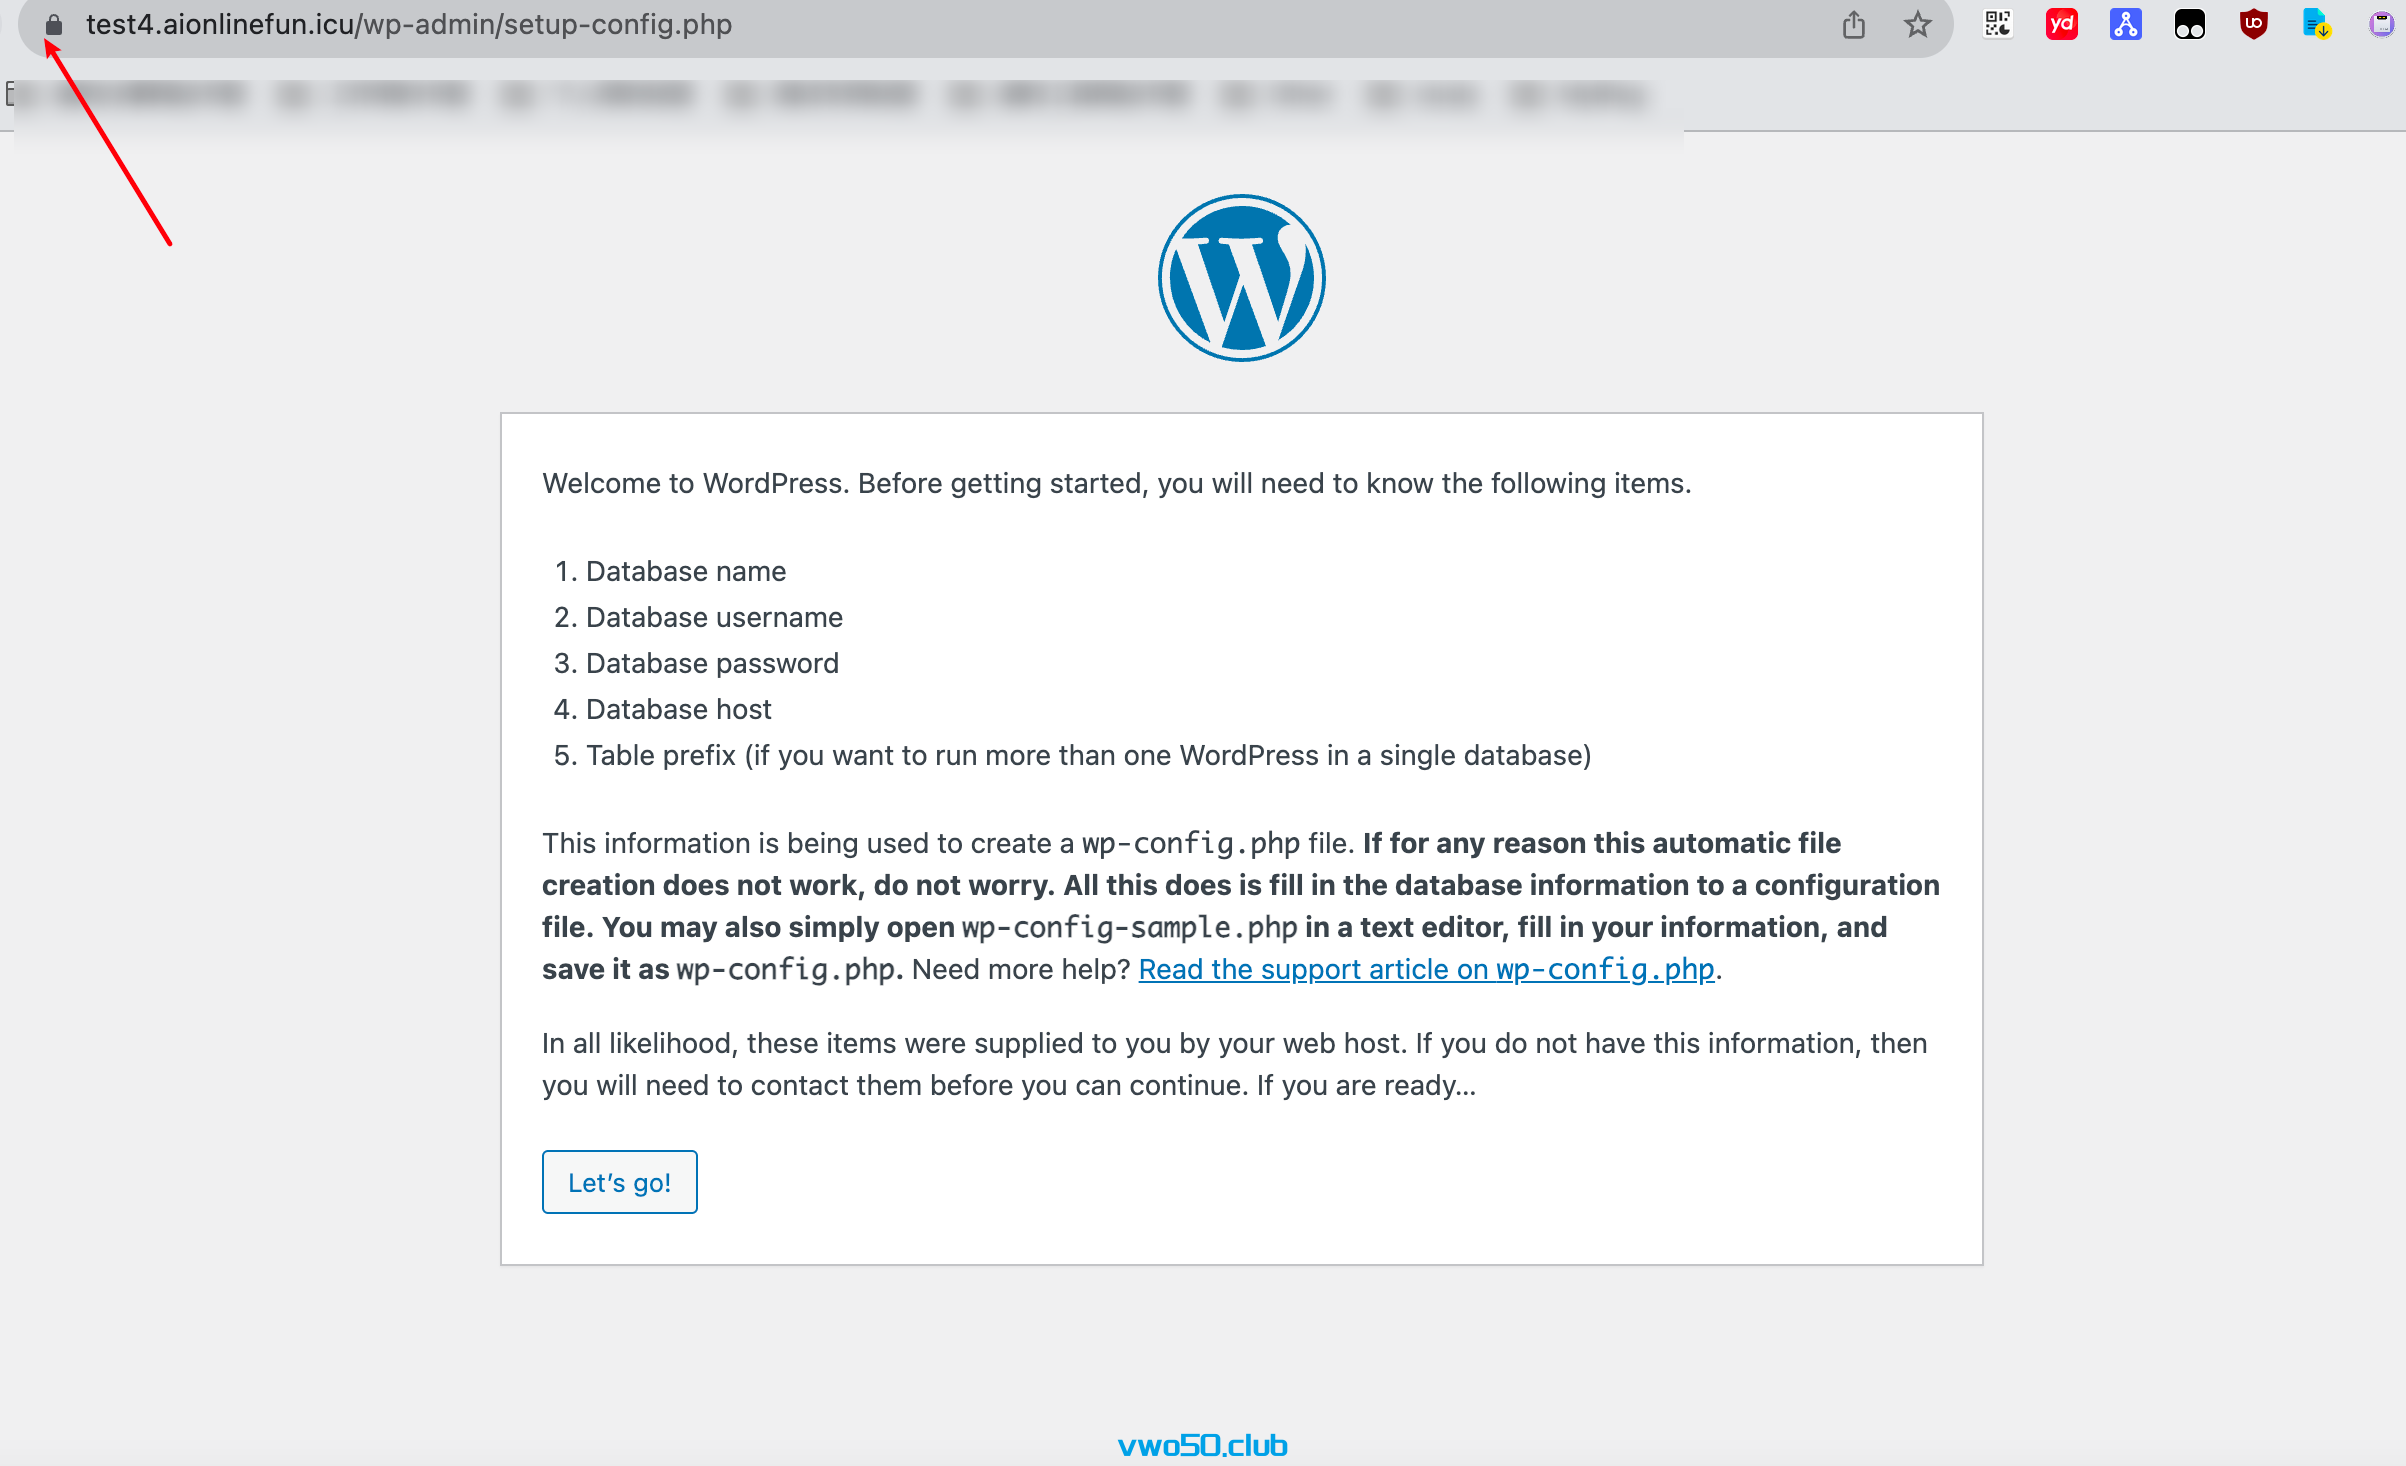
 return 301 https://$host$request_uri; - 接着我们再次访问 域名。发现已经上锁了。是https,安全的
-
wordpress安装需要我们输入数据库的配置。因为我们还没建库,所以我们先建个库
进入数据库,分别输入:create database wordpress; #创建WordPress数据库 create user 'user'@'localhost' identified by 'PASSword123.'; #创建用户user和密码 grant all privileges on wordpress.* to 'user'@'localhost';#赋予权限 flush privileges; #刷新 - 输入mysql的连接配置,我们点击下一步,然后一直输入对应的配置,就安装好了
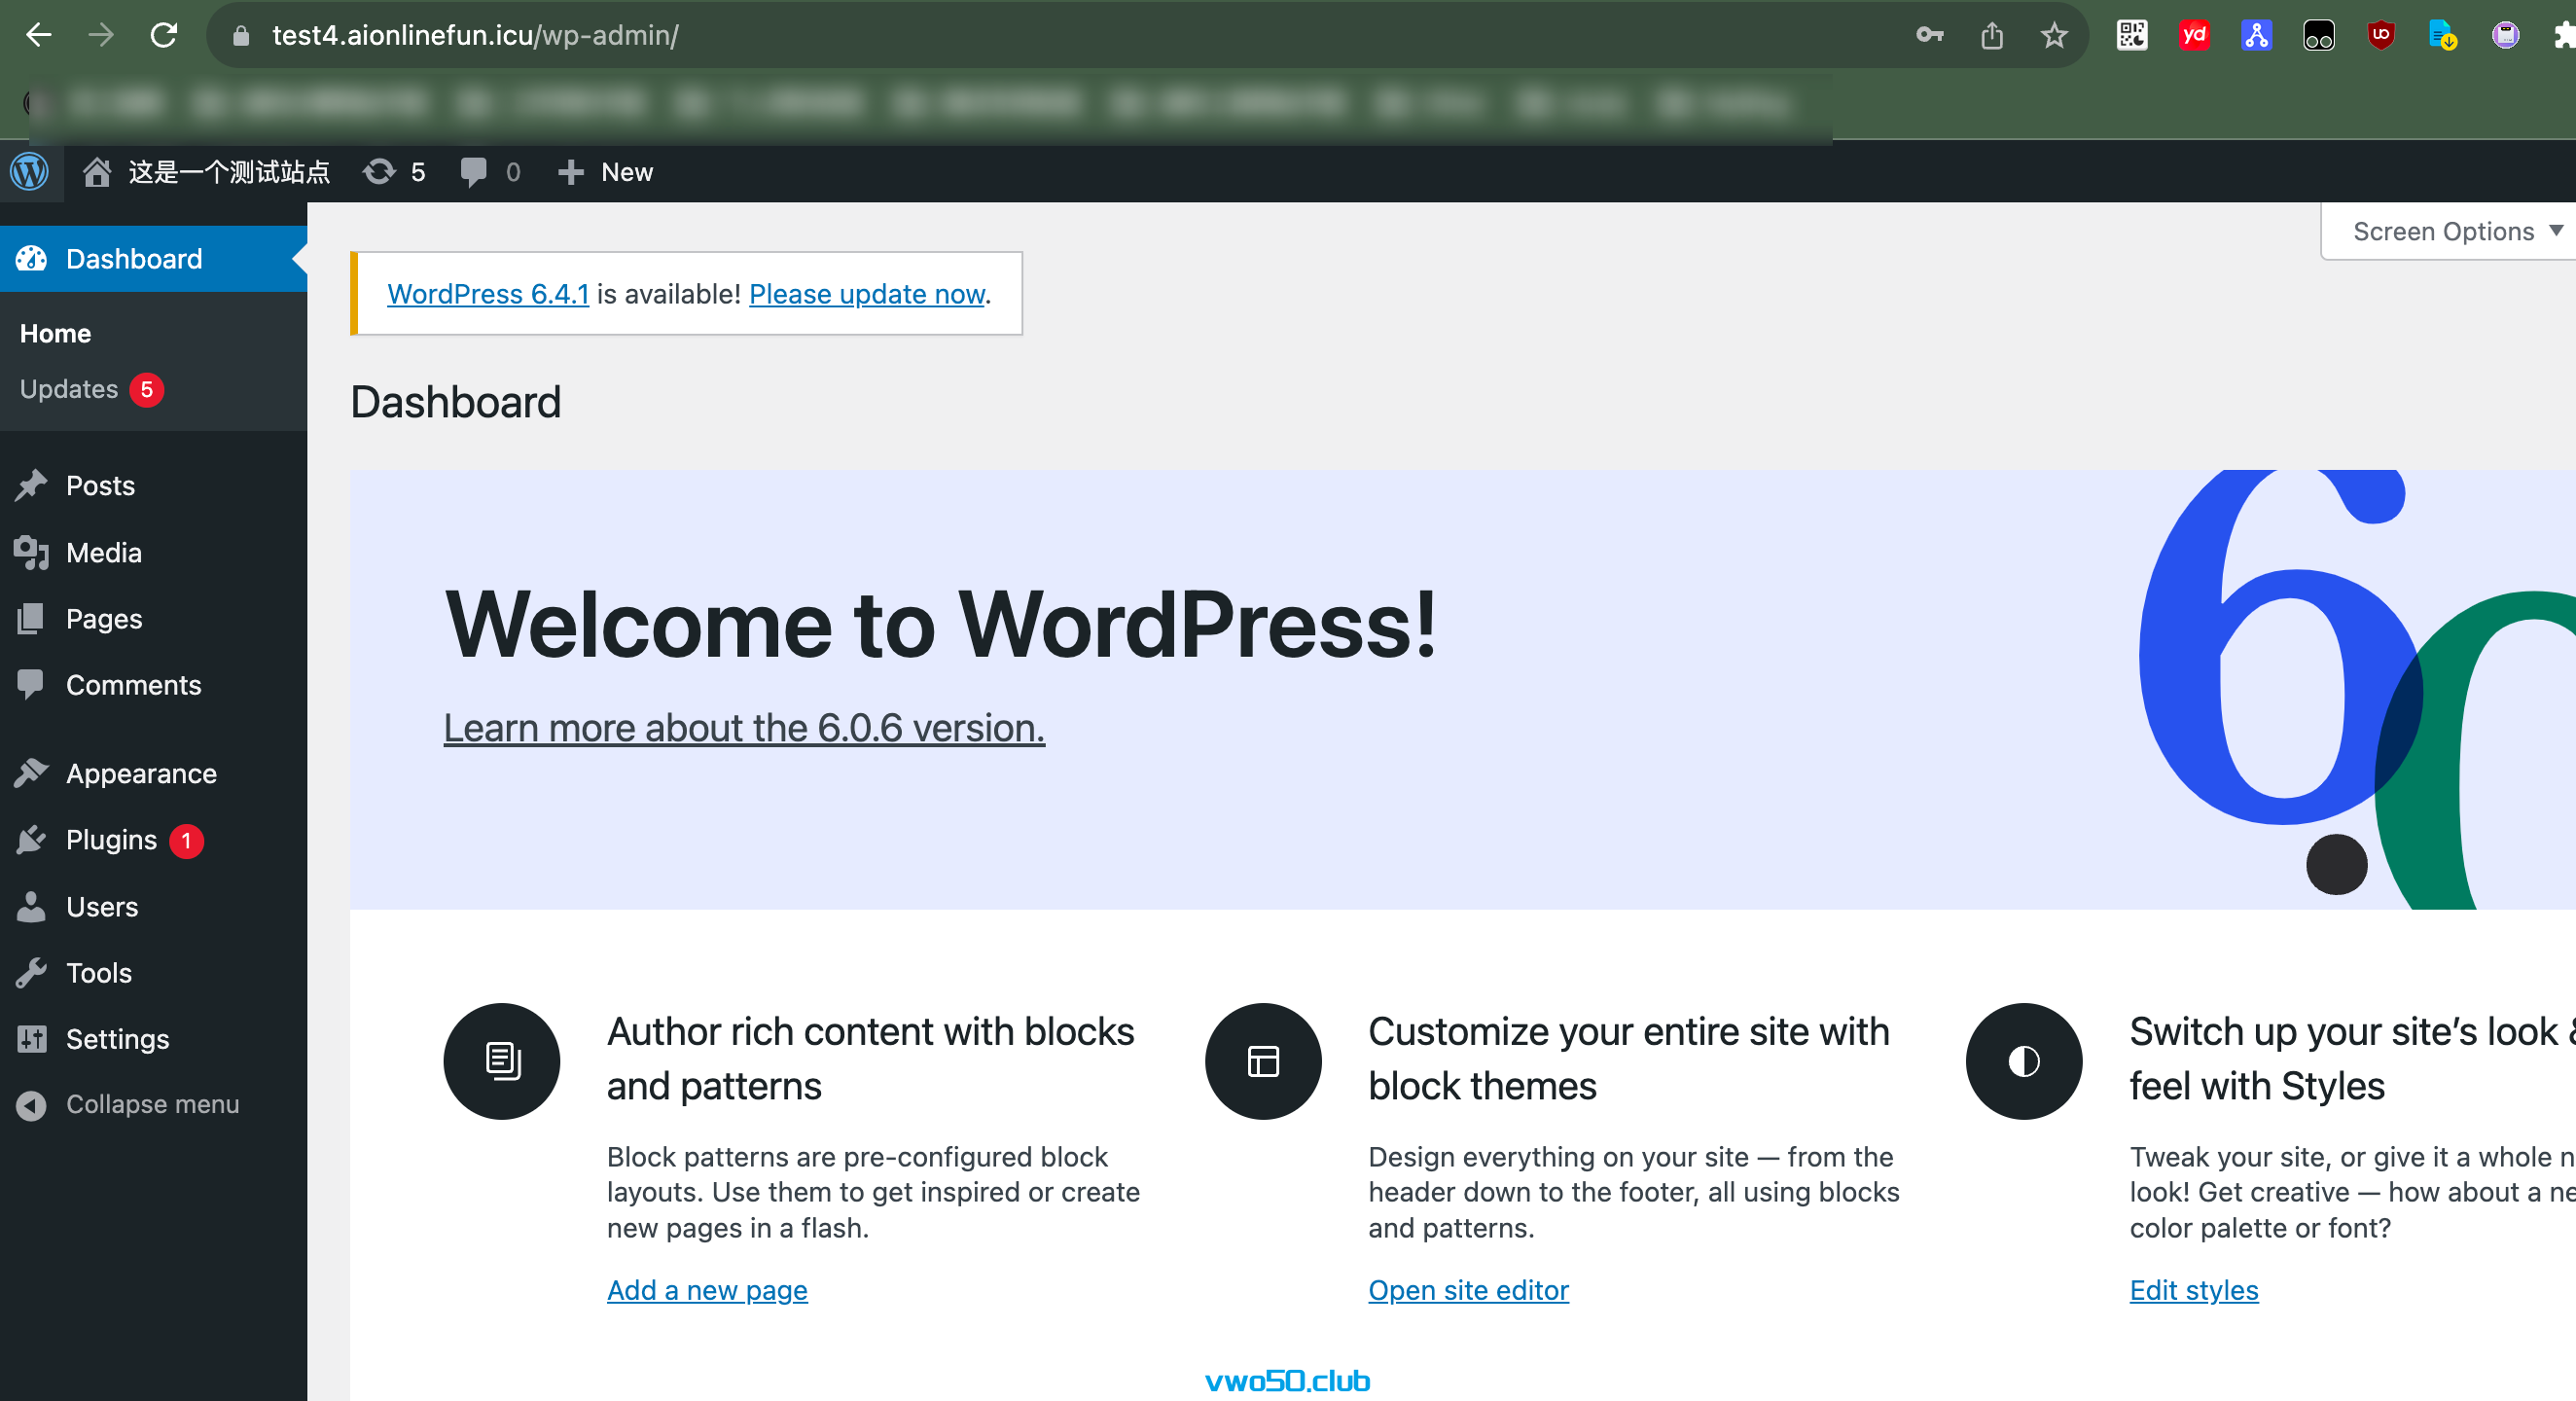
- 然后我们访问域名首页,进入默认页面。
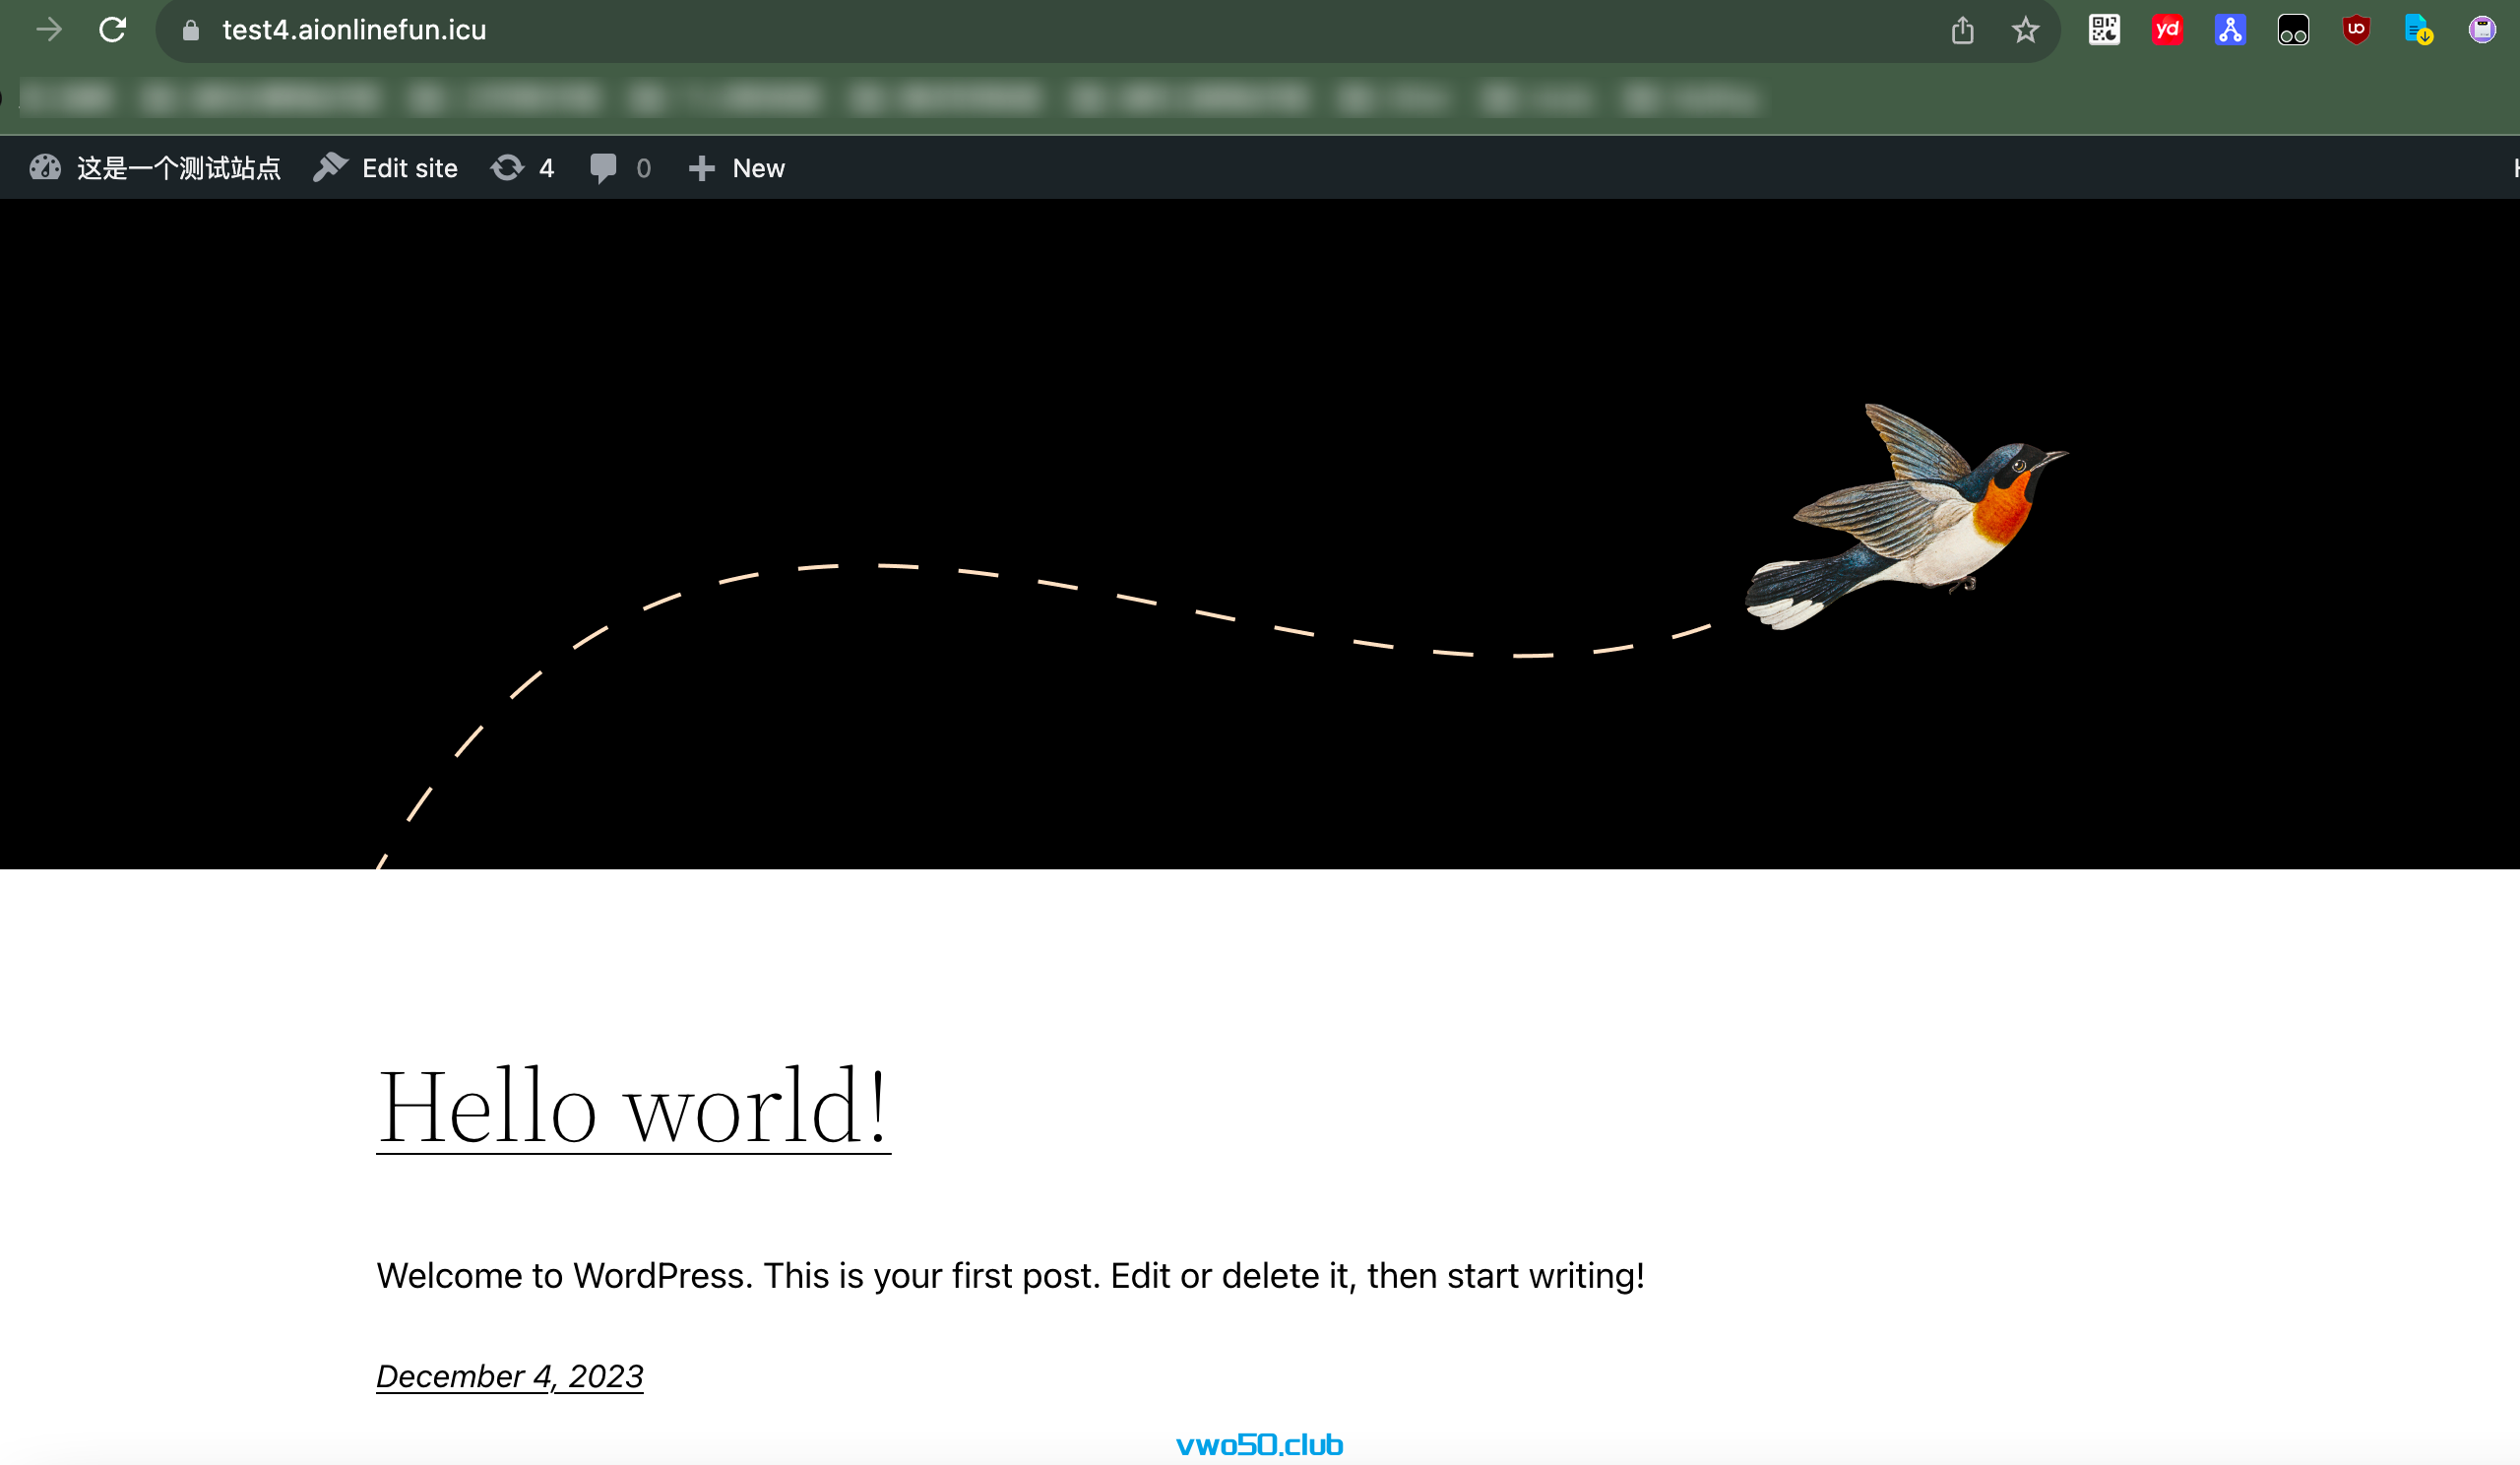 大功告成!
大功告成!
创作不易,如果您觉得这篇文章对你有帮助,不妨给我点个赞,这将是我继续分享优质内容的动力。
