Discuz!是一个功能强大、灵活可定制的论坛软件系统,适用于搭建各种规模和类型的在线社区。由于其在中文网络社区的广泛应用,它在全球范围内具有相当高的知名度。今天我们就学着手动搭建一下 Discuz! 。
搭建过程
本教程基于LNMP,所以前提1是需要安装好lnmp,如果你没安装好,那么可以参考这篇文章:https://vwo50.club/archives/1169.html 前提2:如果你需要通过域名访问该论坛,那么请提前设置好域名解析
- 我们找个路径,执行命令
git clone https://gitee.com/Discuz/DiscuzX.git来将discuzx安装包下载下来。 然后赋予upload目录对应的权限chmod -R 777 /www/wwwroot/DiscuzX/upload/ -
在对应的nginx配置文件的目录(若是yum安装的nginx,则一般在/etc/nginx/conf.d下)里新增 discuz.conf,输入以下内容。
server { listen 80; server_name 你的域名; location / { root /www/wwwroot/DiscuzX/upload; index index.php index.html index.htm; } location ~ \.php$ { root /www/wwwroot/DiscuzX/upload; fastcgi_pass unix:/run/php-fpm/www.sock; fastcgi_index index.php; fastcgi_param SCRIPT_FILENAME $document_root$fastcgi_script_name; include fastcgi_params; } } -
使用certbot执行命令:
sudo certbot --nginx -d 你的域名当页面出现以下success相关的输出,证明就配置成功了。equesting a certificate for 你的域名 Successfully received certificate. Certificate is saved at: /etc/letsencrypt/live/你的域名/fullchain.pem Key is saved at: /etc/letsencrypt/live/你的域名/privkey.pem This certificate expires on 2024-04-04. These files will be updated when the certificate renews. Certbot has set up a scheduled task to automatically renew this certificate in the background. Deploying certificate Successfully deployed certificate for 你的域名 to /etc/nginx/conf.d/discuzx.conf Congratulations! You have successfully enabled HTTPS on https://你的域名 If you like Certbot, please consider supporting our work by: * Donating to ISRG / Let's Encrypt: https://letsencrypt.org/donate * Donating to EFF: https://eff.org/donate-le - 使用certbot会自动帮我们签约证书,以及开启https,自动修改配置。如果你没有安装的话,可以参考这个文章来安装一个:
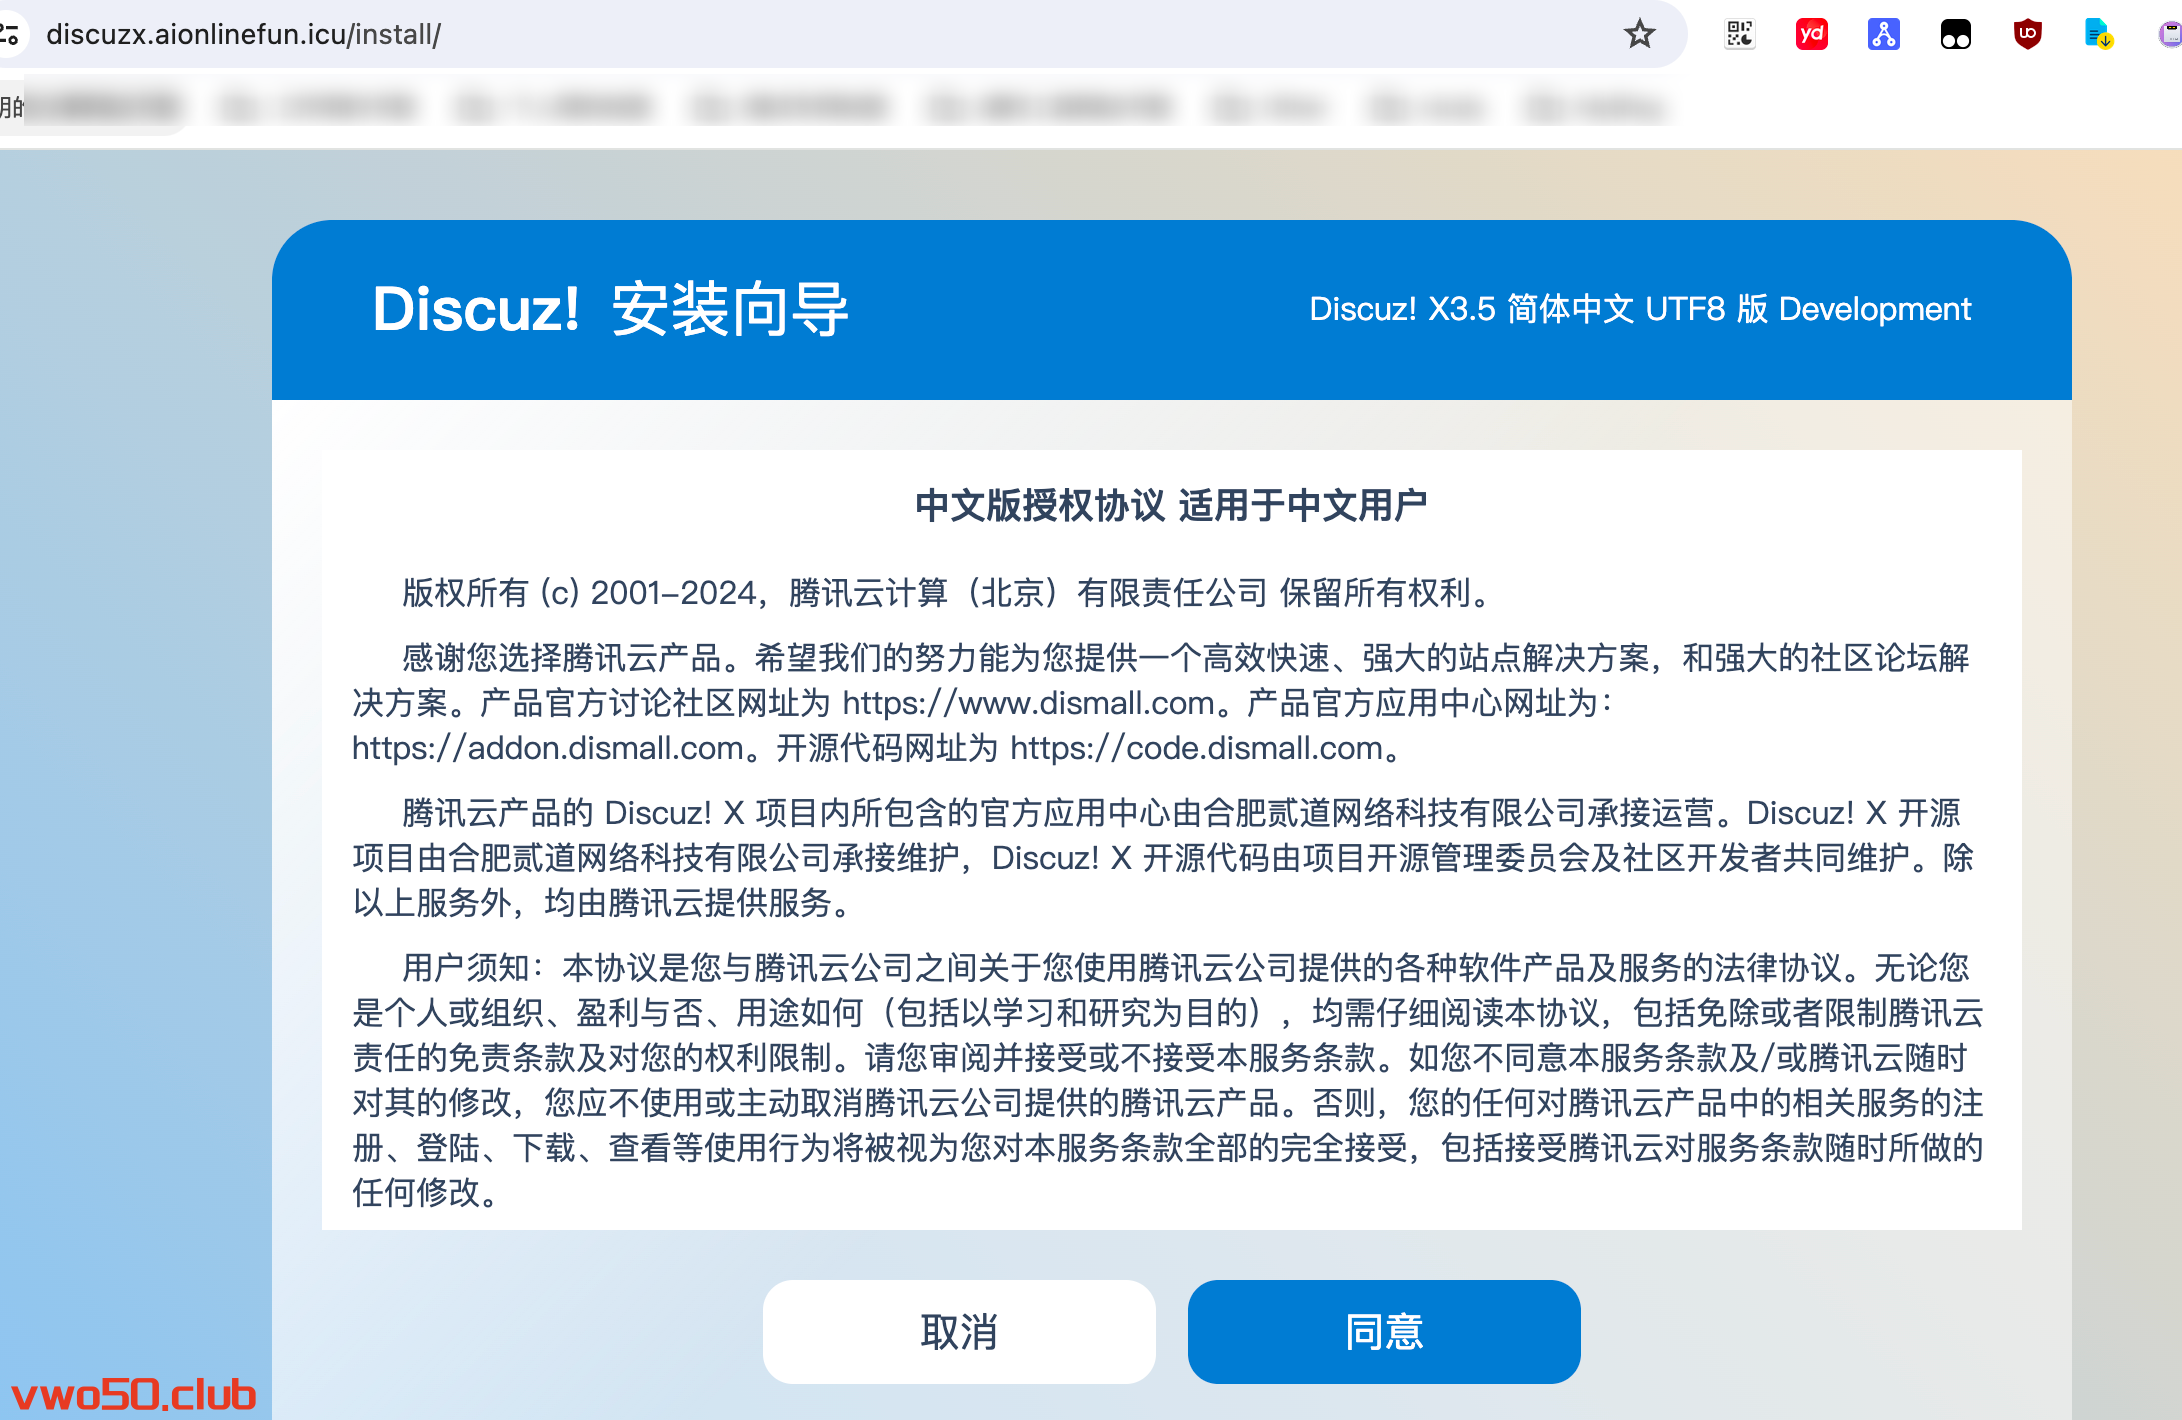
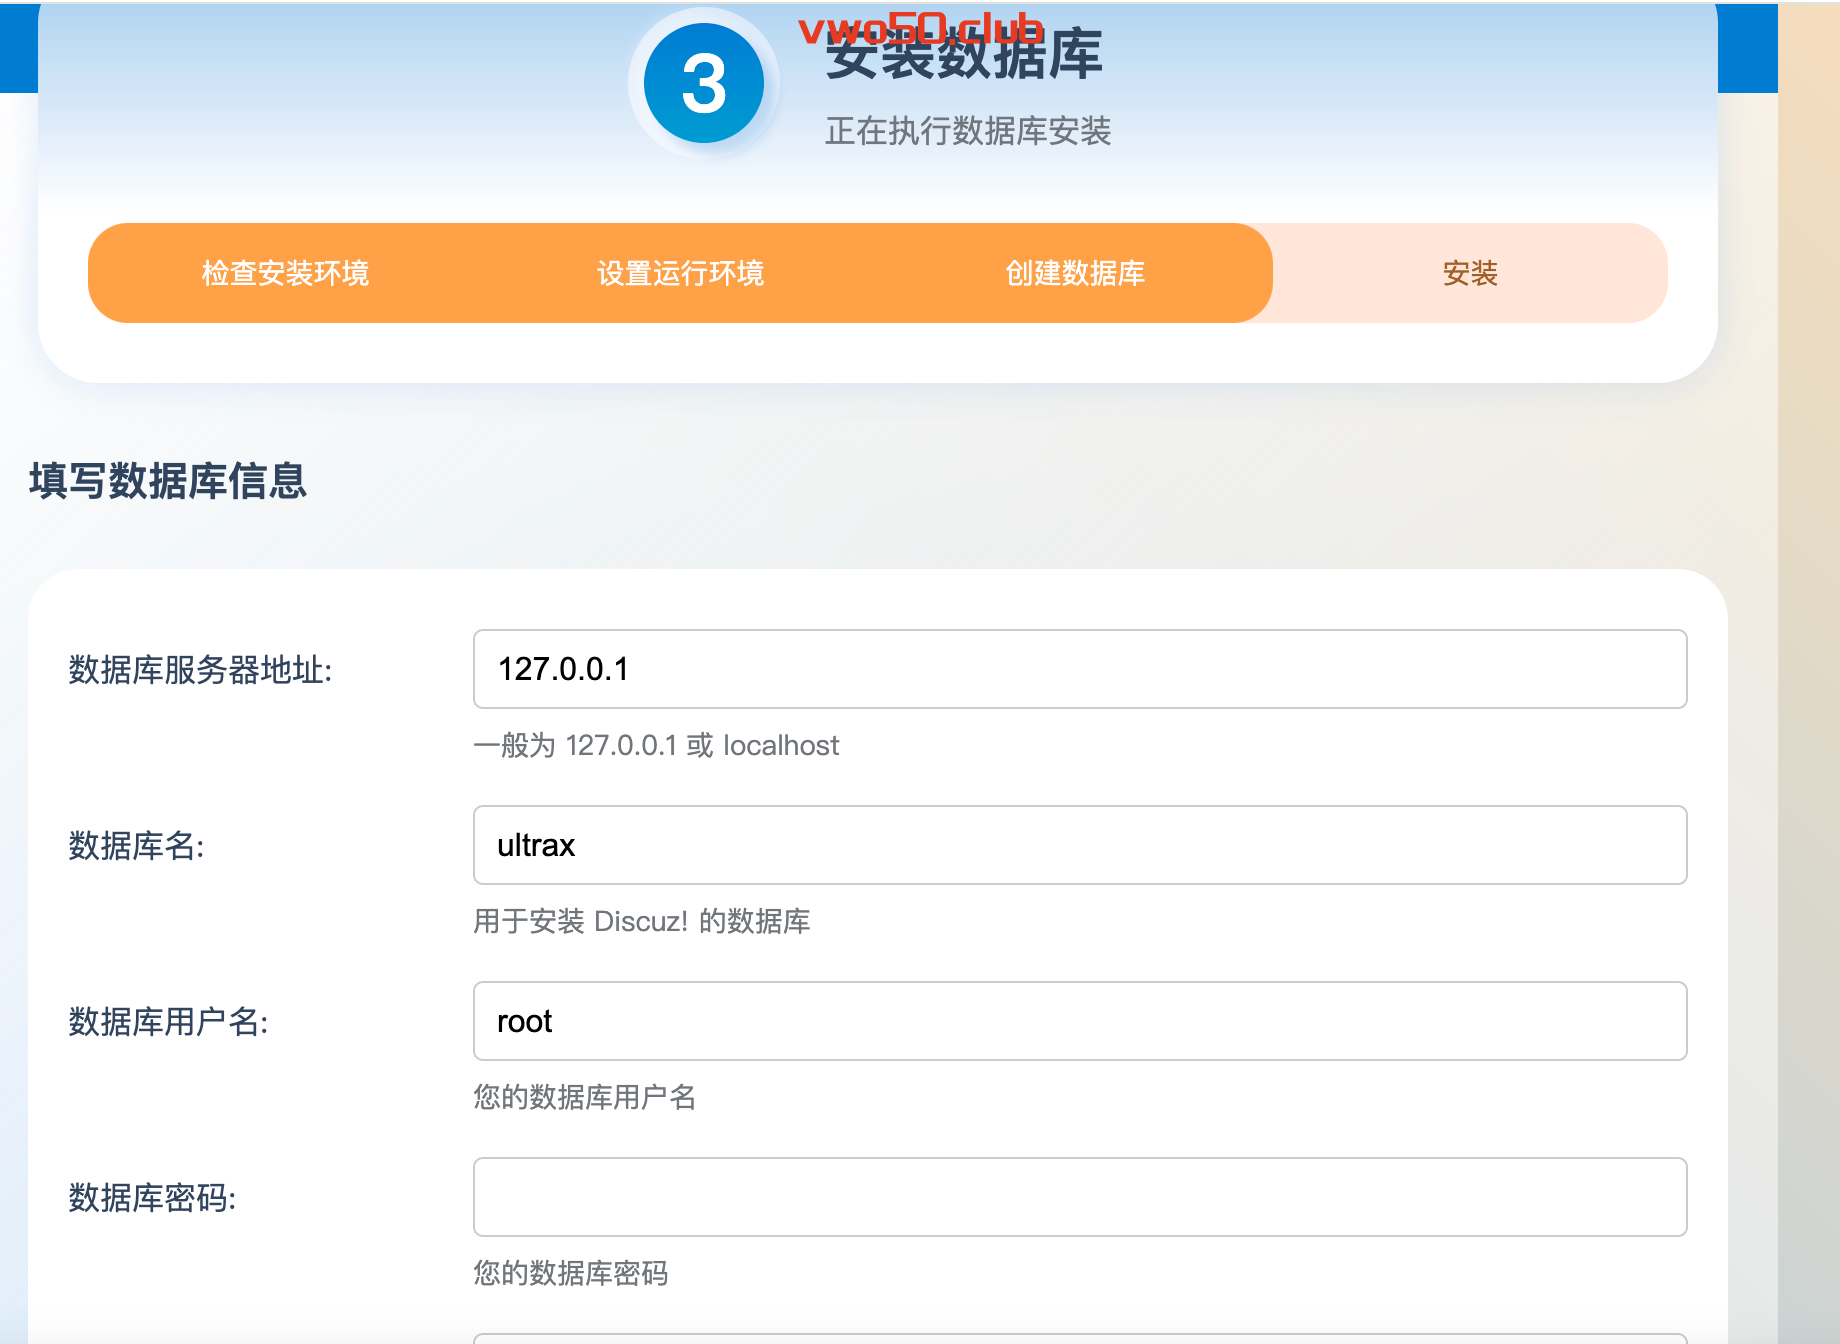
https://vwo50.club/archives/1039.html - 接下来我们前台访问自己的域名,就会出现安装引导页面,我们按照提示一直下一步即可,最后创建好对应的数据库,填入数据库相关的配置,大功告成。